The Complete Guide to Cannabis Dispensary Storage
From Build-Out to Scale: Everything Operators Need to Know - a guide from Industrial 4 Less. Browse our cannabis dispensary storage solutions here.
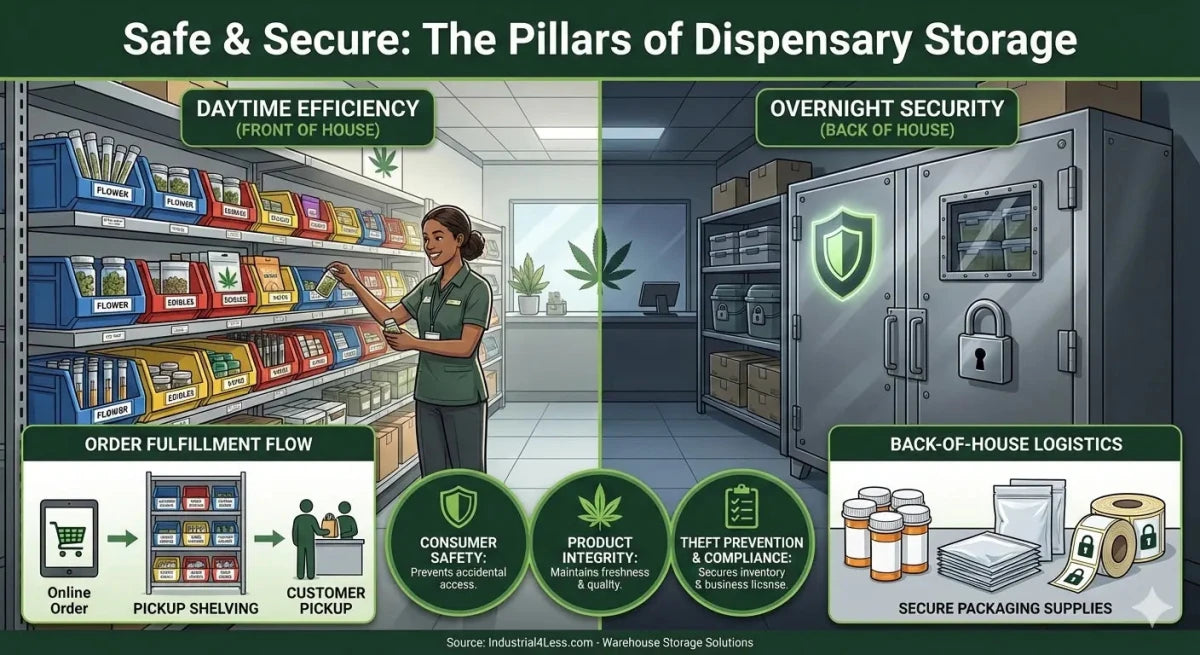
A dispensary’s profitability hinges on two things: regulatory compliance and operational efficiency. Both are won or lost by how you handle product storage. Get it wrong and you’re dealing with compliance violations, inventory shrinkage, slow transaction times, and staff frustration. Get it right and your operation runs like a machine.
This guide covers everything from reading construction drawings for a new dispensary build to scaling storage systems across multiple locations. Whether you’re opening your first dispensary or retrofitting your fifth, the principles are the same: maximize density, maintain compliance visibility, and optimize for speed-to-sale.

Why Storage Planning Starts Before Walls Go Up
Storage isn’t an afterthought you solve with a trip to Home Depot. It’s a strategic decision that affects your daily operations, compliance posture, and bottom line. Here’s what’s actually at stake:
Security & Chain of Custody
State regulations require documented, locked, and traceable inventory—often down to the gram. Your storage system is your first line of defense during audits. Inspectors don’t just check if products are locked; they verify that your organization system enables accurate, rapid inventory counts.
SKU Explosion Management
Flower, pre-rolls, vapes, edibles, topicals, concentrates, tinctures, accessories, each with its own size, margin, handling requirements, and turnover rate. A typical dispensary carries 200-400 SKUs. High-volume operators push past 800. Your storage system needs to accommodate this complexity without creating chaos.
Speed to Sale
Budtenders can’t upsell if they’re rummaging through unmarked boxes. We’ve measured this: dispensaries with organized bin systems see 30-45% reductions in order pick times. That translates directly to more transactions per hour and happier customers during rush periods.
Storage Ideas That Actually Work for Cannabis Operations
Whether you're organizing a small boutique dispensary or managing inventory across multiple rooms, the same storage principles apply. The bbest marijuana storage ideas aren't complicated, they're systematic.
What works:
- Open-front bins instead of closed containers (visibility = speed)
- Color-coded organization by product category or strain type
- Vertical storage to maximize limited floor space
- Modular systems that adapt as your menu changes
A proper dispensary storage solution isn't a single product, it's a system. Bins, shelves, labels and workflow all working together. The dispensaries that get this right see measurable improvements: faster transactions, fewer pick errors, easier inventory counts and happier staff.

The rest of this guide breaks down exactly how to build that system, room by room.
Step 1: Read Your Construction Drawings Like a Pro
Before you order a single shelf, you need to understand your space constraints. If you’re working with an architect or contractor, pull the relevant pages from the drawing set.
Isolate Your Storage Zones
Your dispensary has distinct areas with different storage requirements: sales floor (behind-counter storage for budtenders), back-of-house prep (weigh-and-pack stations), secured vault (bulk inventory), and receiving (quarantine and verification). Each zone has different security requirements, traffic patterns, and product handling needs.
Measure Interior Dimensions, Not Stud-to-Stud
CMU vault walls or 2x6 stud walls can eat 4-8 inches of real estate on each side. The architect’s interior dimension tags (e.g., "VAULT 180.5 SF = 17’-1″ × 10’-0″") are what you need. Don’t plan shelving based on the exterior footprint.
Identify Obstructions Early
Door swings, conveyor pass-throughs, conduit drops, fire-alarm pulls, electrical panels, HVAC vents, and sprinkler heads all dictate where shelving can’t go. Mark these on your plans before you start laying out storage units.
Step 2: Choose a Modular Shelving Platform
Standardization is key. If every shelving unit in your operation uses the same dimensions and bin compatibility, you can reconfigure as your menu evolves, train staff once, and transfer inventory between locations without drama.
|
Requirement |
Recommended Spec |
Why It Matters |
|
Depth |
18 inches |
Fits standard bin sizes without swallowing aisle space |
|
Width |
36 inches |
Easy math for any wall length; modular for reconfiguration |
|
Height |
75 inches (13 shelves) |
Keeps top shelf 18" below 10-ft ceiling—sprinkler compliant |
|
Load Capacity |
400 lb/shelf (uniform) |
Handles bulk flower jars, cash bags, and restock inventory |
|
Bin Compatibility |
Color-coded, hang-or-stack |
Interchangeable widths (4⅛" to 11⅛") for menu flexibility |
Our 1875-series Steel Shelving & Bin Packages ship turn-key with uprights, 13 powder-coated shelves, and the color-coded bins you select. One installer with an impact driver can assemble 13 units in a single day.

1875‑series” Steel Shelving & Bin Packages—each ships turn‑key with uprights, 13 powder‑coated shelves, and the color-coded bins you select (see image below, click here for more details)

Step 3: Lay Out the Vault
Let’s walk through a real-world vault layout. This example uses a 17’-1″ × 10’-0″ vault (~180 sq ft), a common size for single-location dispensaries.
Wall-by-Wall Breakdown
North Wall (17'-1"):
Run five 36" units for 15’-0" total coverage, leaving 12.5" slack on each end for corner clearance and potential conduit runs.
West & East Walls (10’-0″ each):
Offset the first unit 18" from the north wall face so bins don’t collide in the corner. Two 36" units per wall (6’-0" coverage) leaves 2’-6" for conduit or future expansion.
South Wall Stubs:
A 4-ft vault door typically splits the south wall into two 3-ft stubs. Each stub accommodates a single 36" unit.
Resulting Capacity:
- 13 shelving units total
- 720+ bins across all units
- 4+ ft center aisle width
- All door swings and sprinkler clearances preserved

Pro Tip:
Create a to-scale PDF overlay of your shelving footprint. Your contractor can stamp it onto the architect's sheet for permit review and construction coordination.

Step 4: Match Bin Sizes to Your Product Mix
Not all products fit the same container. Using the wrong bin size wastes space, slows picking, and can damage products. Here’s how to match bin widths to common cannabis product categories:

|
Bin Width |
Best For |
Operator Tip |
|
4⅛" ( QSB103) |
Vape carts, concentrates, pre-roll tubes |
Add small flip-front dividers for strain separation within bins |
|
6⅝" ( QSB104) |
⅛-oz flower jars, gummy pouches, small edibles |
Swap to 4⅛" bins when SKUs explode—shelves stay compatible |
|
8⅜" ( QSB108) |
½-oz jars, topical tins, lotion bottles |
Use color coding by product type for quick visual audits |
|
11⅛" ( QSB110) |
1-lb bulk, merch packs, cash envelopes |
Install lock-bars on high-value bins nearest the vault door |
The key insight: your bin mix will change as your menu evolves. Start with a conservative estimate, order 10-15% extra bins in smaller sizes, and reconfigure quarterly based on actual sales velocity.
Real Results: What Dispensaries Actually See
We've helped dispensaries across the country implement these storage systems. Here's what the before/after looks like in practice:
Denver Dispensary - Flower Organization
|
Before |
After |
|
Loose jars and no clear system |
Each strain had its own bin with a label |
|
Time wasted searching |
Faster, smoother order prep |
|
Confusion during peak hours |
Staff could keep up with demand |
Result: 30% reduction in handling time at the counter.
California Dispensary - Edibles & Concentrates
|
Before |
After |
|
Mismatched bins and sizes |
Uniform containers across the board |
|
Products stacked on top of each other |
Each item had its own section |
|
Hard to keep track of what was in stock |
Easier visual checks and less over-ordering |
Result: Simplified training for new employees and more accurate inventory counts.
Oregon Boutique Dispensary - Accessories Display
|
Before |
After |
|
Customers needed help just to look |
Open bins encouraged casual browsing |
|
Staff tied up unlocking displays |
More time to assist and upsell |
|
Lost sales on impulse items |
More products in view, more purchases made |
Result: 20% increase in accessory sales after switching to open-front bins.
Step 5: Storage Beyond the Vault
The vault gets most of the attention, but your entire operation needs coordinated storage. Here’s how to extend the same organizational principles to other zones:

Back-of-House Prep Tables
Stainless or poly-top work tables with 12-bin rail under-mounts keep weigh-and-pack stations organized. Staff should be able to grab packaging supplies, labels, and containers without leaving their workstation.
Sales-Floor Speed Bins
A short 39"-high unit with 6⅝" bins behind the budtender counter holds your top 20 SKUs for lightning-fast grabs. Restock from the vault between rushes. This alone can cut transaction times by 30%.
Returns & Quarantine Zone
Dedicate a specific bin color (red is common) for products awaiting destruction, testing, or return processing. State inspectors appreciate clear segregation—it shows you take compliance seriously.
Online Order Fulfillment: Dedicated Staging Systems
If you offer online ordering for pickup, you need a dedicated staging area. Assign numbered bins or cubbies for pre-picked orders. Staff picks and stages during slow periods; customers grab-and-go during rush. Integration with your POS should auto-assign bin numbers to orders.
Why dedicated staging matters:
- Order Segregation: Staff pre-pick orders and store them in clearly labeled bins on designated shelves. Each order stays isolated until customer pickup, critical for compliance and accuracy.
- Efficient Turnaround: Orders are accessible and ready when customer arrive. No hunting through the vault during rush periods.
- Inventory Integration: Connect your staging system to your POS. When an order is placed, assign it a bin number automatically. When the customer arrives, staff knows exactly where to grab it.
- Space Optimization: Vertical shelving with numbered cubbies maximized limited back-of-house space. A 36" wide unit with 4 columns and 5 rows gives you 20 staging slots in 3 square feet of floor space.
- FIFO Compliance: Orders picked first should be staged for earliest pickup. Use a numbering system or time-stamps on labels to ensure order orders get fulfilled first.
Implementation tip: Dedicate a specific bin color (we recommend red) for online orders. Staff can identify pickup orders at a glance without reading every label.
POS Under-Counter Drawers/Bins
Shallow shelf bins fit under point-of-sale counters for cash drops, receipt paper, and small supplies. Keep the counter surface clean for customer interaction.

Step 6: Set Up Receiving & Quarantine Workflows
Products don’t go directly from the delivery truck to your sales floor. Every item needs verification against your purchase order, logging in your seed-to-sale system, and potentially a quarantine period awaiting lab results.
Receiving Dock Layout
- Dedicated table or counter for unpacking and verification
- Computer/tablet station with POS access for immediate logging
- Staging bins for verified and pending products
- Clear sightlines to security cameras
Quarantine Shelving
Products awaiting lab results or compliance verification need separate, clearly marked storage. Use a distinct bin color (yellow is common for “hold” status). Never mix quarantined products with sellable inventory, this is a compliance failure waiting to happen.
Chain of Custody Documentation
Your receiving workflow should capture: who received the shipment, what time, from which vendor, batch/lot numbers, quantities received vs. ordered, and any discrepancies. This documentation protects you during audits and vendor disputes.
Step 7: Build for Compliance
Every design decision should pass the “inspector test”—would this make an audit easier or harder? Here are the compliance checkpoints that affect storage planning:
Camera Coverage
Shelving placement must not create camera blind spots. Before finalizing your layout, walk the space with your security vendor. Every bin should be visible from at least one camera angle. This often means ceiling-mounted cameras at aisle intersections, not just wall-mounted units.
Sprinkler Clearance
Most jurisdictions require 18" clearance from the top of stored products to sprinkler deflectors. This is why we recommend 75" shelving units for 10-ft ceilings, it maximizes vertical storage while maintaining compliance. If your ceilings are lower, adjust accordingly.
Access Control Integration
Your vault door and any secured storage areas need to integrate with your access control system. Employee badge swipes should log who accessed what and when. Some operators add secondary locks on high-value bins (concentrates, cash) for an additional audit layer.
Seed-to-Sale Visibility
METRC, BioTrack, Leaf Data, whatever system your state uses, your storage organization should make inventory counts fast and accurate. Open-front bins with clear labeling let staff verify counts visually. Closed containers or stacked boxes create counting delays and errors.
Step 8: Order & Stage Like a General Contractor
Storage installation should be sequenced with your construction timeline, not treated as a last-minute scramble before opening.
|
Task |
Timing |
Notes |
|
6-8 weeks pre-CO |
Lead times on colored bins can jump in Q4; order early |
|
|
Anchor layout review |
As soon as walls go up |
Mark unit centers on slab before epoxy floors go down |
|
Receive & stage |
2 weeks pre-opening |
Stage pallets inside the vault—no double-handling |
|
Assemble shelving |
1 week pre-opening |
13 units = 1 installer × 1 day (impact driver + ½" socket) |
|
Label & initial counts |
48 hours pre-opening |
Print bar-coded labels matching METRC/POS SKU IDs |
Step 9: Plan for Multi-Location Scaling
If you’re planning to expand beyond a single location, your storage decisions today affect operational efficiency across your entire network. Standardization pays dividends:
- Staff Portability: Employees who transfer between locations know exactly where products are—same bin colors, same layouts, same labeling conventions.
- Procurement Economies: Bulk ordering across locations reduces per-unit costs. Standard specifications simplify purchasing.
- Inventory Transfers: Moving product between locations is seamless when storage systems are identical. Bins, labels, and organization translate directly.
- Training Efficiency: One set of SOPs, one training program, consistent expectations across all sites.
Final Checklist Before Opening Day
- All shelving anchored to slab and wall (meets anti-tip + security codes)
- Sprinkler clearance verified (18" top of product to deflector)
- Door swings test clear of product and personnel
- Bin labels and colors match POS/METRC categories
- Cycle-count SOP written (daily counts on high-value, weekly full vault)
- Camera sight lines reviewed, no blind spots from shelving
- Emergency lighting unobstructed
- Receiving workflow documented and staff trained
- Quarantine zone clearly marked and segregated
Need Help With Your Layout?
Send us your PDF flooplan. We'll return:
- A wall-by-wall unit count
- A bin-mix recommendation tailored to your menu size
- A ready-to-stamp pdf overlay at architect scale
No charge for first-pass layouts. Because when your shelves fit perfectly, the inventory takes care of itself, and you can focus on serving customers.